Making T-nuts for the Taig Mill
T-nuts are a handy and easy to make accessory for the Taig milling machine.
The nuts that Taig supplies work just fine as far as keeping your work piece in
place goes, but they sit way down inside the slot, and can be hard to see when
you're setting up a work piece.
Ten of these little T-nuts can be made for about a dollar. They can be bought, too,
for about two bucks apiece. Cheap enough, but these are so easy to make, why
send money to someone else to do you're work for you? It's machine work...
This is not a very long tale, but there are some comments with the pictures.
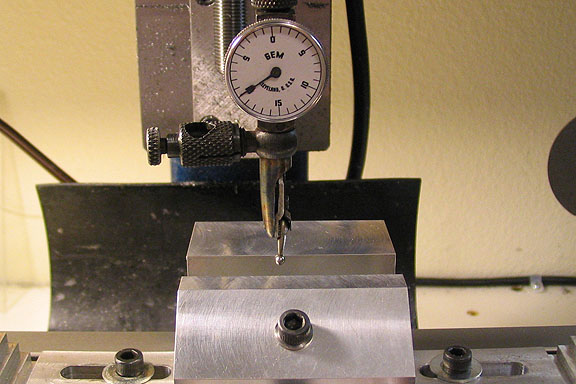
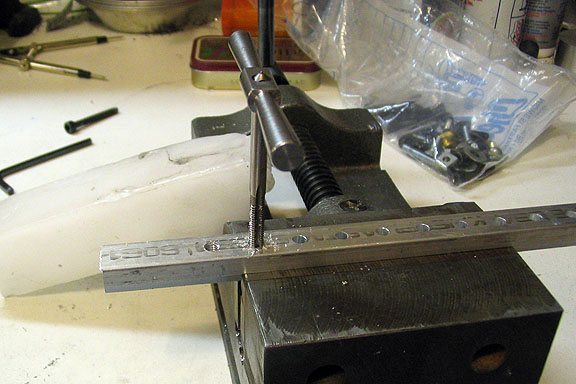
The first thing to do is indicate the fixed jaw of the vise square to the mill table.
Just using a square would probably be good enough.
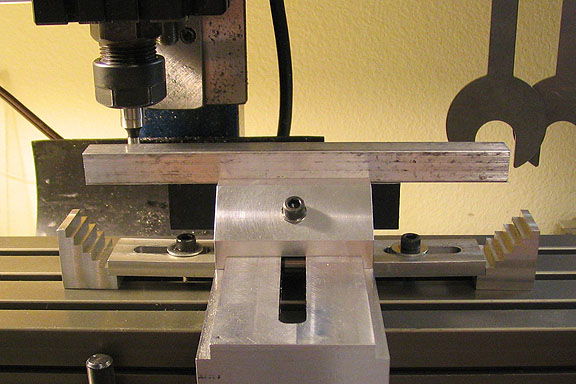
For 10 T-nuts, a piece of 1/2" square aluminum stock 6 1/2" in length will do it.
Find one of the long edges of the work piece.
Mill one edge with an in-feed of .125" and to a depth of .25". Then flip the piece end
for end without disturbing the in-feed and mill off the other edge. Mill about .025" off
the top and it's ready for the next step.
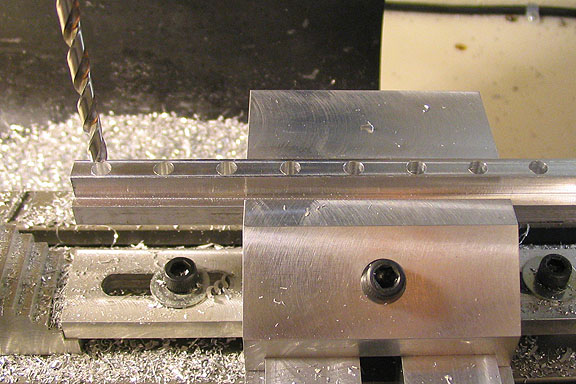
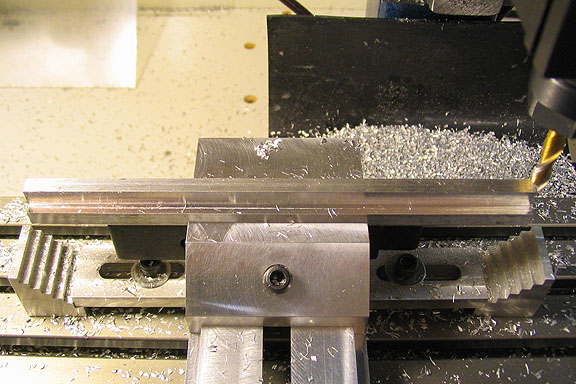
Starting at one end, a spotting drill is centered in the width of the piece, and the first
in-feed is made to .25" from the end of the piece, where the first hole is spotted and
drilled. Then, another hole is drilled every .532" until there are 10 holes. The distance
of .532" is derived from the length of the finished nut, which is .5", plus the thickness
of the slitting saw that will cut the T-nuts to length. The slitting saw used for these will
be .032" thick, so .5" + .032" = .532".
When the drilling is done, the ten holes are tapped 10-32. Paraffin wax
works great for a lube, and doesn't leave things all oily. Just rub the wax
onto the tap.
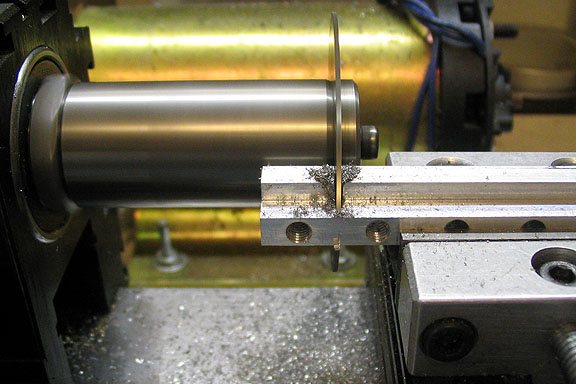
The piece is now mounted in a vise on the lathe, and the T-nuts are sliced
off. Start by setting the end of the piece against the slitting saw, back out
the cross slide to clear the saw, crank the carriage over .516", and cut, cut cut.
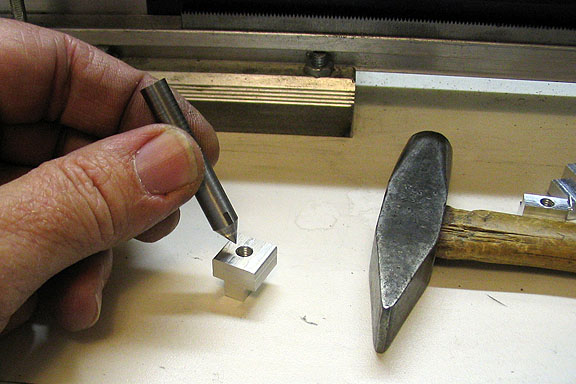
Clean up any rough edges with a file. Take each T-nut and set it on its' top side.
Use a large punch or an old dead center to blunt the edge of the bottom thread
in the nut. Just put the punch into the threaded hole and whack it a couple of good
licks with a hammer. This will flatten the thread at the bottom of the nut so mounting
screws won't go all the way through the nut and scar the bottom of the T-slots in
the milling table.
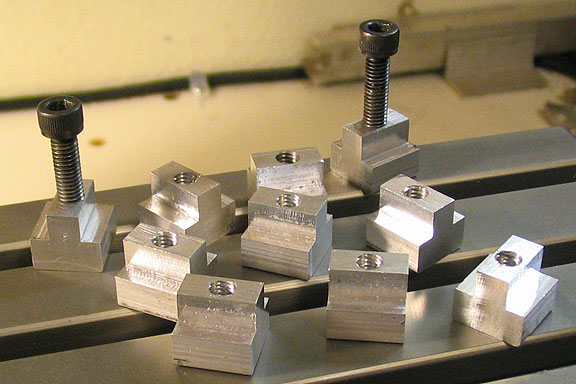
Ten little T-nuts.
More Taig Lathe & Mill Projects
deansphotographica.com
(home page)
Copyright 2009 Dean Williams